



Quarter-by-Quarter
| Team | Q1 | Q2 | Q3 | Q4 | Final |
|---|---|---|---|---|---|
| Essendon | 3.1 19 | 5.1 31 | 6.2 38 | 9.2 56 | 56 |
| Carlton | 4.1 25 | 7.4 46 | 12.7 79 | 14.8 92 | 92 |
Match Report
Umpire: J Elder
Goalkickers: F.Caine 3, F.Elliott 2, H.Kelly 2, G.Topping 2, G.Bruce 1, M.Gotz 1, F.Jinks 1, J.Marchbank 1, G.Johnson 1.
Best: A.Lang, G.Johnson, M.Gotz, C.Hammond, J.Baquie, A.Ford, G.Bruce.
Reports: Injuries: F.Jinks (sprained ankle) second quarter, returned in third quarter played forward.
Game Review
Carlton was by far the stronger side in this contest, winning all over the ground. Fred Jinks sustained an early injury which immobilised him, but despite this the Blues were never challenged. Billy Payne took the field for Carlton with great bravery, he had received medical advice warning him that a knock to his infected eyes could result in the loss of his sight. He went on to be one of the Blues best.
Team
B: | Norman Clark | Doug Gillespie | Jim Marchbank |
HB: | Martin Gotz | Billy Payne | Arthur Ford |
C: | Ted Kennedy | Rod McGregor | George Bruce |
HF: | Frank Caine | Harvey Kelly | Jack Baquie |
F: | Fred Jinks (vc) | George Topping | Fred Elliott (cc) |
Ruck: | George Johnson | Charlie Hammond | Alex Lang |
Coach: | Fred Elliott | ||
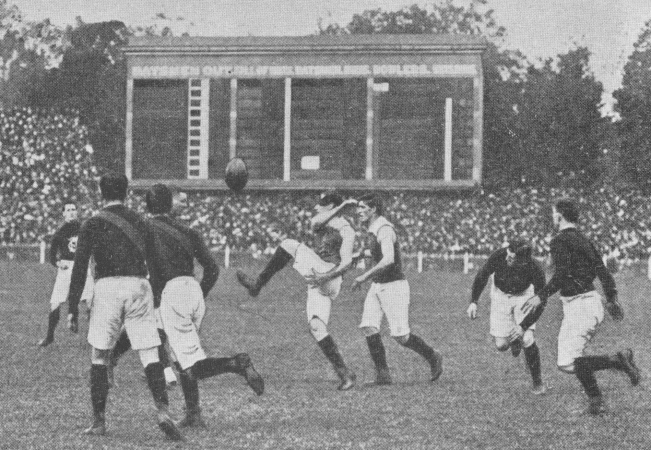
Carlton v Essendon - Easy Victory For Carlton
A full report of the match was printed in the Sydney newspaper The Referee, September 15 (p11)
To read http://nla.gov.au/nla.news-article120632669
Player Statistics

Carlton
| # | Player | KI | HB | DI | MK | GL | BH | GA | IF | MI | UP | BO | TK | RB | 1% | FF | FA | CP | CM | CL | CG | HO | BR | %P |
|---|---|---|---|---|---|---|---|---|---|---|---|---|---|---|---|---|---|---|---|---|---|---|---|---|
| - |  Frank Caine | - | - | - | - | 3 | - | - | - | - | - | - | - | - | - | - | - | - | - | - | - | - | - | - |
| - |  Fred Elliott | - | - | - | - | 2 | - | - | - | - | - | - | - | - | - | - | - | - | - | - | - | - | - | - |
| - |  Fred Jinks | - | - | - | - | 1 | - | - | - | - | - | - | - | - | - | - | - | - | - | - | - | - | - | - |
| - |  George Bruce | - | - | - | - | 1 | - | - | - | - | - | - | - | - | - | - | - | - | - | - | - | - | - | - |
| - |  George Johnson | - | - | - | - | 1 | - | - | - | - | - | - | - | - | - | - | - | - | - | - | - | - | - | - |
| - |  George Topping | - | - | - | - | 2 | - | - | - | - | - | - | - | - | - | - | - | - | - | - | - | - | - | - |
| - |  Harvey Kelly | - | - | - | - | 2 | - | - | - | - | - | - | - | - | - | - | - | - | - | - | - | - | - | - |
| - |  Jim Marchbank | - | - | - | - | 1 | - | - | - | - | - | - | - | - | - | - | - | - | - | - | - | - | - | - |
| - |  Martin Gotz | - | - | - | - | 1 | - | - | - | - | - | - | - | - | - | - | - | - | - | - | - | - | - | - |
| Team Total | - | - | - | - | 14 | - | - | - | - | - | - | - | - | - | - | - | - | - | - | - | - | - | - | |
| Team Average | - | - | - | - | 1.6 | - | - | - | - | - | - | - | - | - | - | - | - | - | - | - | - | - | - | |
Last updated by Jamie Sanderson ·